Welcome to a new Arduino project. In this tutorial we will see how to build an Arduino robotic arm. It is a 3-degree-of-freedom robotic arm that uses servo motors and a gripper at the end. We will also go over the different materials used to build it, show the wiring diagram and finally share the code needed to control the robotic arm.
Table of contents
Materials used in the Arduino robotic arm project
Below you can find the materials used to build this robotic arm together with a short description of each one.
If you want to build the project yourself, you can click on the images to visit a website where those materials are available.
Arduino UNO board: It is the brain of the project and controls all of its processes through the code you will find below.
Stepper motor: Its rotation is controlled through electrical pulses, allowing precise step-by-step movement.
Servo motors: These are 5V geared motors, which makes it easy to control their position and provides high torque for their size.
Protoboard: A board with internally connected holes (pins) that we will use to make the project's electrical connections.
Craft sticks: We will use these sticks as the structural frame that gives shape to the robotic arm.
If you want to learn more about each material, you can visit the materials page, where their operation and possible uses are explained in more detail.
Components needed to build a servo-based robotic arm
Below you will find a list of all the components used in this servo-based robotic arm project so you can go straight to the store pages if you need them.


As an Amazon Associate, RobotUNO earns from qualifying purchases.
WE DEVELOP YOUR IDEA
Need help with a project?

- Prototyping and MVPs
- Arduino and ESP32
- PCB design
- 3D part design
- Bluetooth connectivity
- Feasibility study
- Cost optimization
- Technical consulting
- Internet of Things
- Patent support
Step-by-step video of the servo-based robotic arm project
If you want a much more detailed explanation of how to build this project from start to finish, including the code, the video below covers the full process in a clearer and more visual way. And if you enjoy this kind of content, do not forget to subscribe.
Arduino wiring diagram to build the robotic arm
One of the most important parts of assembling this robotic arm is wiring each element correctly. In this case, it is especially important to connect all the servo motors properly.
To avoid assembly mistakes or wrong connections, here is the wiring diagram used in this project. With this wiring setup you can use the code at the end of the post without any modification.

As you can see, there is a small difference between the wiring shown in the video and the wiring shown in this image. In the video, all the servo motors are powered directly from the Arduino UNO board.
That is not recommended, because the current drawn by all the servo motors could damage the Arduino board if they are powered directly from it. For that reason, the wiring shown in this image is safer, since the power comes from the module «mb-102» and the motor current does not pass through the Arduino board.
Finally, whether you use this recommended wiring or the one shown in the video, the code will not be affected because the motor signal connections stay on the same Arduino UNO pins.
Arduino code for the robotic arm
Below you can find the Arduino code developed specifically for this project. The pins used in the code are the same ones shown in the wiring diagram above.
The code shown below includes predefined movements, which you can see in the video above. However, if you want your robotic arm to perform more movements, we recommend watching the additional video linked HERE.
For the code to work correctly, remember to install the Servo.h and Stepper.h libraries. Also make sure the selected port matches the one where your Arduino board is connected.
If you have any questions about how to use or install the development environment used for Arduino, here is a link to how to download the Arduino IDE
//Canal de YouTube -> Robot UNO
//Proyecto -> Brazo robotico version1
#include <Servo.h>
#include <Stepper.h>
Servo servomotor3; //Servomotor pinza
Servo servomotor2; //Servomotor enmedio
Servo servomotor1; //Servomotor abajo
Stepper motor(2048, 4, 6, 5, 7);
void setup() {
servomotor3.attach(11);
servomotor2.attach(10);
servomotor1.attach(9);
motor.setSpeed(5);
}
void loop() {
//Reinicio
servomotor1.write(0);
servomotor2.write(0);
servomotor3.write(0);
//motor.step(512);
delay(3000);
//COJE EL OBJETO
for(int i=0; i<=45; i++){
servomotor3.write(i);
delay(25);
}
delay(1000);
for(int i=0; i<=90; i++){
servomotor2.write(i);
delay(25);
}
delay(1000);
for (int i=0; i<=90; i++){
servomotor1.write(i);
delay(25);
}
delay(1000);
for(int i=45; i>=0; i--){
servomotor3.write(i);
delay(25);
}
delay(1000);
for (int i = 90; i>=0; i--){
servomotor1.write(i);
delay(25);
}
delay(1000);
for (int i = 90; i>=0; i--){
servomotor2.write(i);
delay(25);
}
delay(1000);
//GIRA CON EL OBJETO
motor.step(512);
delay(1000);
//DEJA EL OBJETO
for(int i=0; i<=90; i++){
servomotor2.write(i);
delay(25);
}
delay(1000);
for (int i=0; i<=90; i++){
servomotor1.write(i);
delay(25);
}
delay(1000);
for(int i=0; i<=45; i++){
servomotor3.write(i);
delay(25);
}
delay(1000);
//VUELVE A LA POSICION INICIAL
servomotor1.write(0);
servomotor2.write(0);
motor.step(-512);
delay(3000);
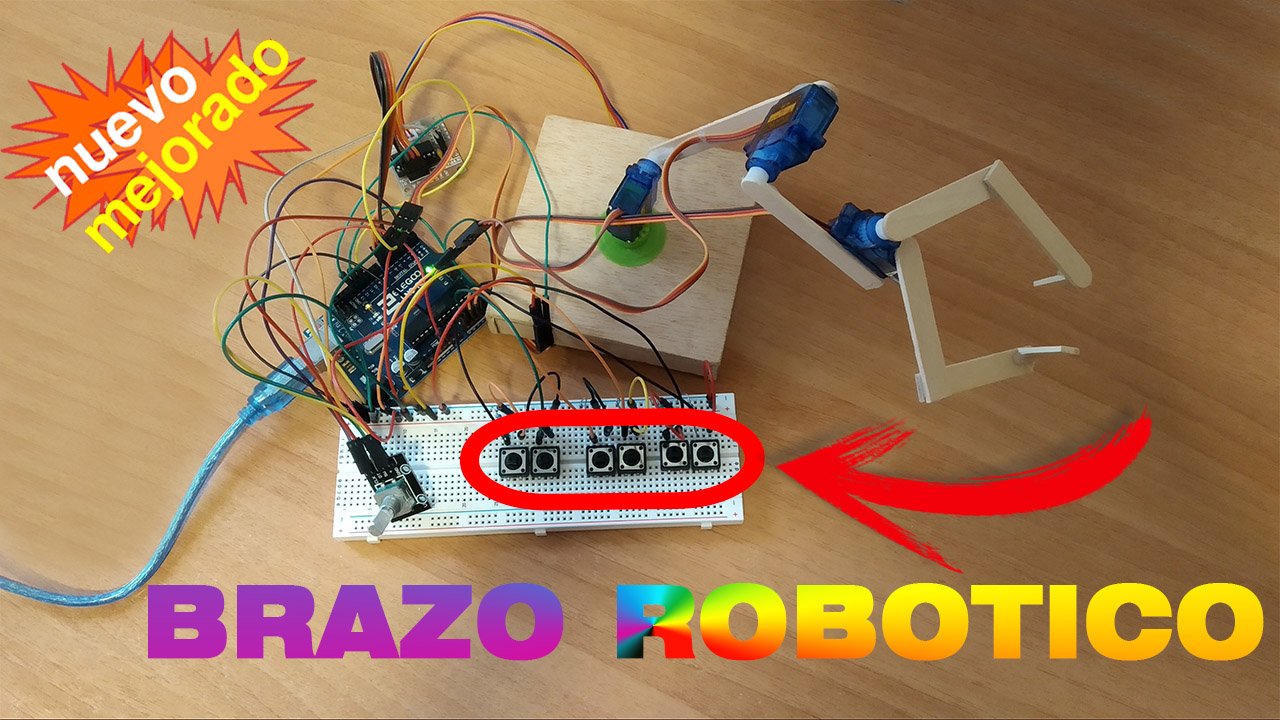
}You may also be interested in this button-controlled robotic arm project
If you enjoyed this project, here is a variation that is easy to implement. It uses the same robotic arm, but instead of controlling it with commands, it is controlled with buttons. It is a simple way to keep evolving this project.