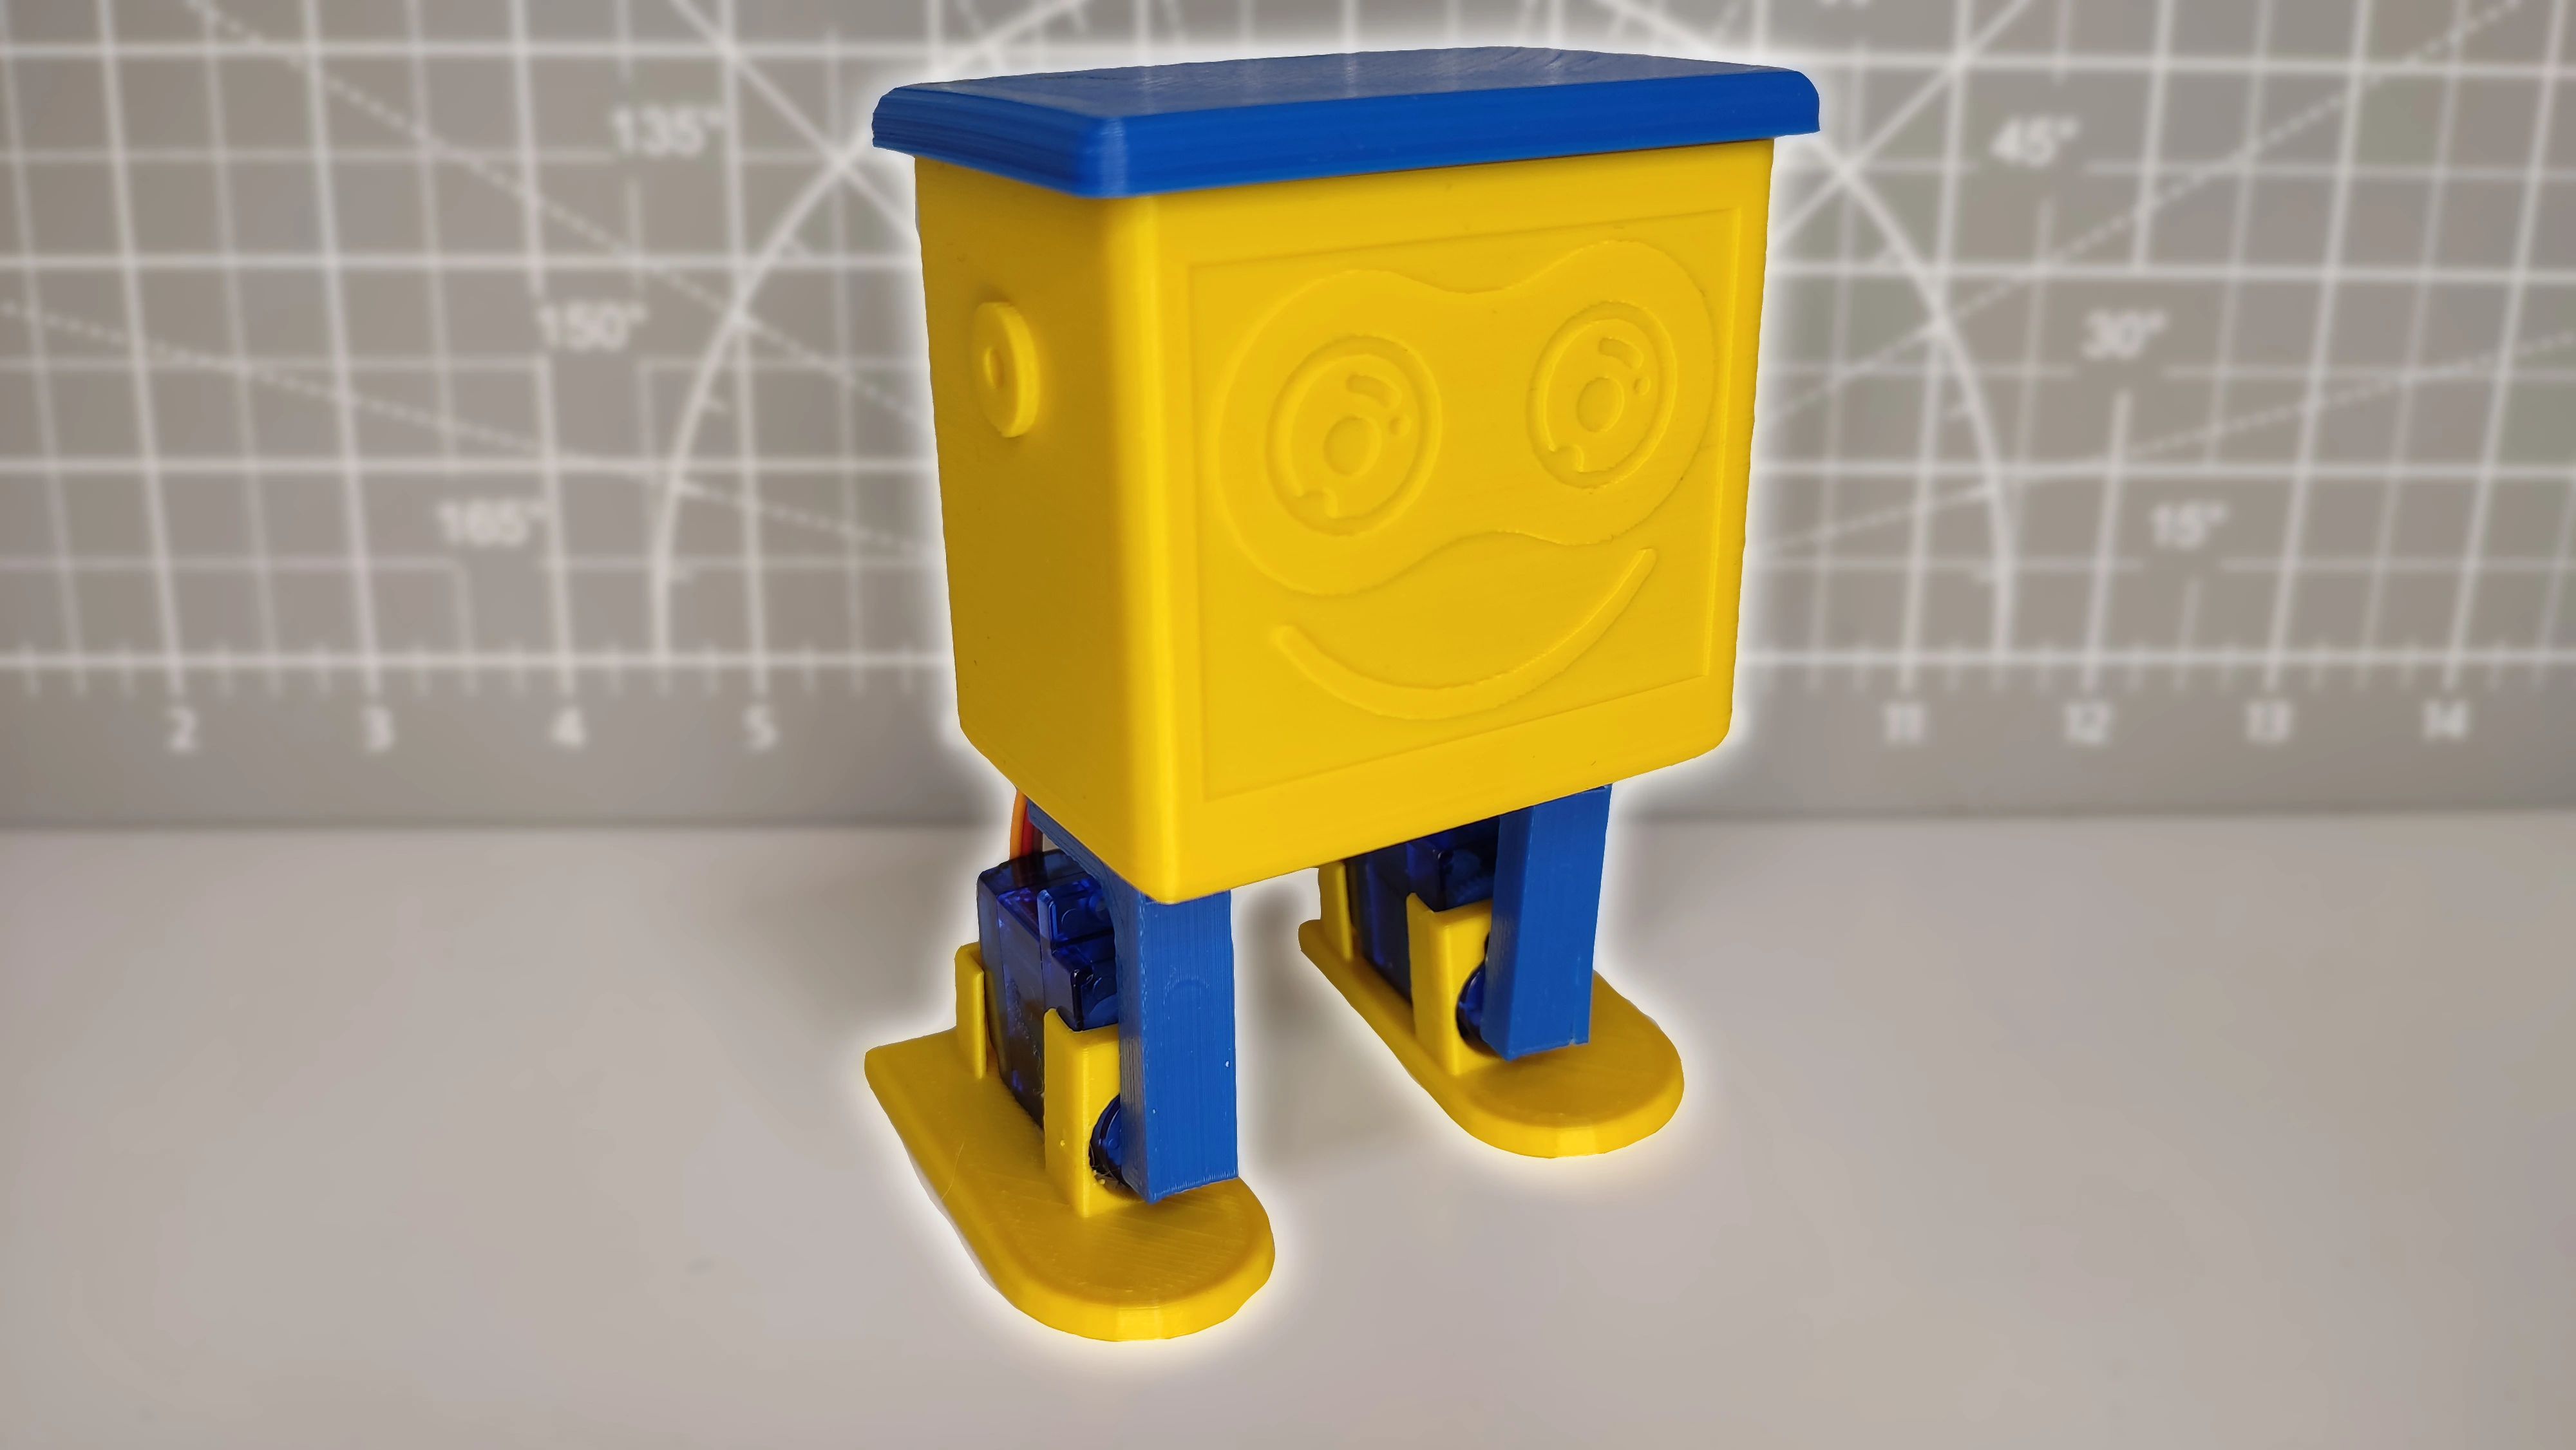
Here it is at last: a robot that dances, walks and waves using Arduino. This project is built only with parts that usually come in beginner kits, such as servo motors, an Arduino UNO board and other basic components.
If you want to build this project in a quick and simple way, stay on this page.
Table of contents
Materials needed to build the robot
Below we will go through the materials used to build this humanoid robot, which can walk and dance on its own. If you want to make the project and you are missing some parts, you can easily buy them from the links provided.


As an Amazon Associate, RobotUNO earns from qualifying purchases.
WE DEVELOP YOUR IDEA
Need help with a project?

- Prototyping and MVPs
- Arduino and ESP32
- PCB design
- 3D part design
- Bluetooth connectivity
- Feasibility study
- Cost optimization
- Technical consulting
- Internet of Things
- Patent support
Project video explanation
Below you will find the code and wiring diagram for this project, but if you want a more detailed walkthrough of the build, here is the original YouTube video where everything is explained step by step. And if you enjoy this kind of content, do not forget to SUBSCRIBE.
Arduino wiring diagram
Another very important part of an Arduino project is the wiring diagram. Here are all the connections needed to build this project. I recommend checking carefully that every connection matches the image exactly so the code below works without any extra changes.

Arduino code for the robot
To finish this project, here is the Arduino code developed specifically for this robot.
For the code to work correctly, remember to install the Servo.h library. Also make sure the selected port matches the one where the Arduino board is connected.
If you have any questions about how to use or install the development environment used for Arduino, here is a link to how to download the Arduino IDE
//Canal YouTube -> RobotUNO
//Robot Bipedo
#include <Servo.h>
Servo der_arriba;
Servo der_abajo;
Servo izq_arriba;
Servo izq_abajo;
void setup() {
  der_arriba.attach(5);
  der_abajo.attach(6);
  izq_arriba.attach(7);
  izq_abajo.attach(8);
  posicion_inicial();
  delay(3000);
}
int f=0;
void loop() {
  if (f==0) {
    saludar();
    caminar();
    bailar();

    f=1;
  }
}
void posicion_inicial(){
  der_arriba.write(0); delay(100);
  der_abajo.write(0); delay(100);
  izq_arriba.write(90); delay(100);
  izq_abajo.write(90); delay(100);
}
void saludar(){
  for (int i=0;i<2;i++){
    der_abajo.write(50); delay(100);
    izq_abajo.write(40); delay(100);
    der_abajo.write(0); delay(100);
    izq_abajo.write(90); delay(100);
  }
}
void caminar(){
  int vel=50; //Velocidad a la que anda

  for (int i=0;i<30;i++){
    der_arriba.write(90); delay(vel);
    der_abajo.write(50); delay(vel);
    der_arriba.write(0); delay(vel);
    der_abajo.write(0); delay(vel);

    izq_arriba.write(0); delay(vel);
    izq_abajo.write(40); delay(vel);
    izq_arriba.write(90); delay(vel);
    izq_abajo.write(90); delay(vel);
  }
}
void bailar(){
  for (int i=0;i<5;i++){
    der_abajo.write(50); delay(300);
    izq_abajo.write(40); delay(150);
    der_abajo.write(0); delay(300);
    izq_abajo.write(90); delay(150);
    der_arriba.write(90); delay(500);
    izq_arriba.write(0); delay(500);
    der_arriba.write(0); delay(500);
    izq_arriba.write(90); delay(500);
    der_arriba.write(90); delay(500);
    izq_arriba.write(0); delay(500);
    der_arriba.write(0); delay(500);
    izq_arriba.write(90); delay(500);
  }
}
Before mounting all the servo motors, remember that they must be set to their neutral starting position. In other words, each servo should be placed halfway through its full range of motion so it can move in both directions.
To do this, you can use the code shown below. I recommend running it in a new Arduino IDE window and setting the servo motors to their middle position. Connect the servo motors one by one, as explained in the video, to pin 5 on the Arduino UNO board.
Use this code for the bottom-right servo motor:
#include <Servo.h>
Servo servomotor;

void setup() {
  servomotor.attach(5);
}

void loop() {
  servomotor.write(0);//Para el de abajo a la derecha
}
Use this other code for the bottom-left servo motor:
#include <Servo.h>
Servo servomotor;

void setup() {
  servomotor.attach(5);
}

void loop() {
  servomotor.write(90);//Para el de abajo a la izquierda
}
Once that is done, you can continue with the project, assemble everything and mount the servos on the robot.