Making a prototype is not about “materialising an idea” as quickly as possible. It is about building the minimum version that can answer important questions: whether the solution works, whether the technical approach is viable, whether the cost fits and whether it makes sense to keep investing time and money.
That nuance completely changes how the work should be approached. A good prototype is not measured by how good it looks, but by how much uncertainty it removes. The sooner you understand this, the less likely you are to spend resources in the wrong direction.
Key idea: a prototype is not a miniature final product. It is a tool for making better decisions.
Table of contents
What a Prototype Really Is
A prototype is a functional, partial or simplified representation of a product that helps you learn something relevant. Sometimes it is used to verify a technical function. Other times, it helps demonstrate a user experience, validate a mechanism, explain a concept to a client or reduce risk before investing in industrial design or manufacturing.
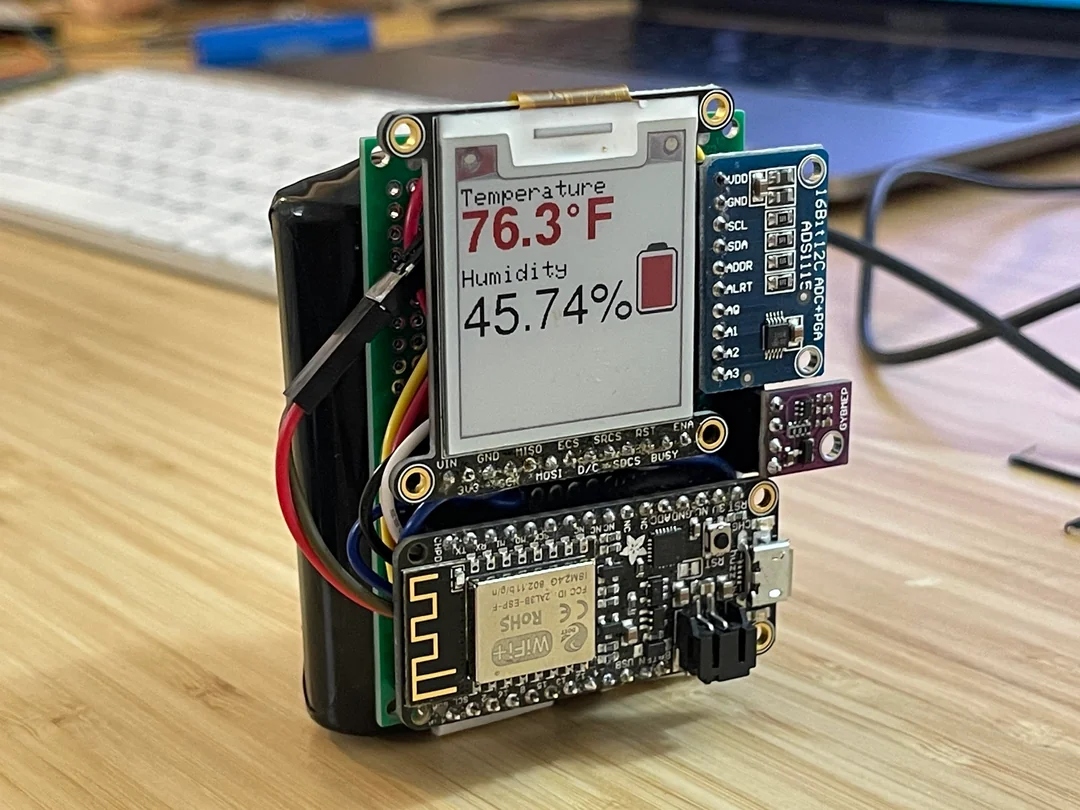
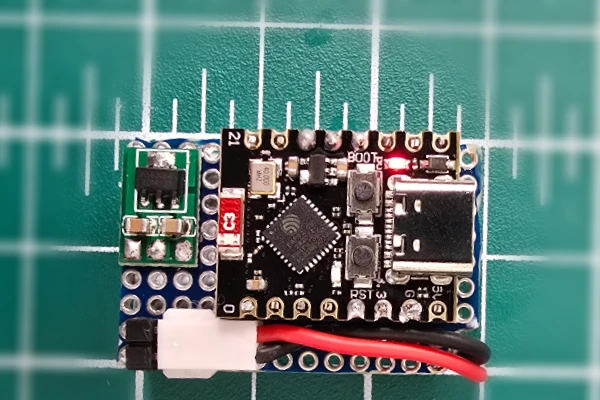
That is why there is no single type of prototype. You may need a quick laboratory setup, an electronic proof of concept built on a development PCB, a mechanical mock-up, a 3D-printed enclosure or a combination of several elements. The right question is not “how do I make the prototype?”, but “what do I need to prove at this stage?”
What to Define Before You Build
Before touching a single tool, it is worth setting a few foundations. If you do not, the prototype becomes a collection of improvised decisions.
- Test objective: define what you want to validate. It may be a technical function, battery life, an interaction, a level of accuracy or an integration between systems.
- Scope: decide what belongs in this first version and what does not. A prototype that tries to solve everything usually ends up solving nothing well.
- Success criteria: define what would need to happen for the test to be considered successful. Without this, everything gets evaluated “by feel”.
- Real operating conditions: identify the context in which the product will need to work. Temperature, vibration, battery, connectivity, size, safety or handling can completely change the architecture.
- Cost and time constraints: even a prototype needs boundaries. If you do not set limits, it becomes very easy to oversize the solution.
This phase may look less impressive, but it is the one that saves the most mistakes later. Very often the problem is not technical execution, but starting to build before clarifying what that first version was supposed to achieve.
Phases for Creating a Useful Prototype
1. Translate the idea into concrete requirements
An idea is usually expressed in ambiguous terms: “I want a smart device”, “I want to automate this process”, “I want the user to control it from a mobile app”. A prototype requires you to turn that into verifiable requirements: what it measures, what it activates, how much autonomy it needs, how it is powered, what accuracy is expected or which other systems it needs to communicate with.
The more concrete this translation is, the easier it becomes to make hardware, firmware, connectivity or mechanical decisions.
2. Choose a sensible architecture
The next step is to decide how you are going to solve the problem without overengineering it. This is where the main blocks are usually defined: sensing, control, power, communications, enclosure, interface and operating logic.
A sensible architecture is not the most complex one or the one that looks the most “professional” on paper. It is the one that lets you validate quickly with controlled risk. If a development board, a basic 3D print or a semi-open assembly is enough to prove what matters, there is no point in starting with an expensive closed solution.
3. Build a focused first version
The first version should focus on the most critical questions. If you do not yet know whether the electronics can handle the power consumption, whether the sensor has the required precision or whether the mechanism has too much play, that should be solved first. The initial prototype does not need to be beautiful. It needs to be honest.
A rough prototype that clearly shows what fails is better than a polished version that hides the important problems.
4. Test, measure and document
Prototyping without measurement is just “putting things together”. Every iteration should leave behind data and conclusions: what worked, what did not, which hypotheses were confirmed and which risks remain open.
Documenting this phase properly helps avoid impulsive decisions and makes it easier for other people on the team to understand why a component, topology or operating logic is being changed.
5. Iterate with criteria
Iteration does not mean changing everything every time. It means changing only what the previous test proved needs to change. If you iterate without focus, the project becomes unstable. If you iterate with criteria, each new version reduces uncertainty and brings the product closer to a stronger definition.
Common Prototyping Mistakes
- Starting too soon: building before defining the objective, scope and success criteria.
- Trying to validate everything in the same version: adding too many functions at once makes it impossible to understand what is failing.
- Confusing a demo with a prototype: a demo may impress people, but it does not always help you learn what matters.
- Ignoring future manufacturing: even if the prototype is not the final product, some early decisions strongly shape industrialization later on.
- Obsessing over visual finish too early: a nice enclosure does not compensate for a weak technical foundation.
- Not recording decisions: if you do not document them, you will repeat mistakes and rely too much on memory or intuition.
When a Prototype Has Already Done Its Job
A prototype has done its job when it clearly answers the question it was created to answer. It does not need to do more than that. If you wanted to validate minimum battery life, a level of accuracy, a control logic or a specific interaction, what matters is getting a reliable answer.
Continuing to polish a version that has already provided the necessary information can be counterproductive. Sometimes the next step is not to improve that prototype, but to move to another kind of version that is closer to the product: a functional revision, a more stable MVP or a pre-industrial version.
Sign of maturity: it makes sense to move forward when you can already explain with data what has been validated, which risks remain open and what additional investment is needed for the next phase.
What Comes After the Prototype
After the prototype usually comes a consolidation stage. It is no longer just about “making it work”, but about deciding whether the product is ready for an MVP, validation with real users, a more stable engineering version or preparation for manufacturing.
That is where questions such as unit cost, custom PCB design, mechanical robustness, certification, firmware maintainability or user experience start to matter more. The better the prototype was framed, the clearer those decisions become.
In short: prototyping well is not about building fast, but about learning fast with structure. If your first version helps you remove uncertainty and make a better decision about the next step, then the prototype has done exactly the job it needed to do.