This is one of the most interesting projects on the website. It was also the first time I used a 3D printer, so please do not judge the final finish too harshly.
For now, the programming of this robot is quite simple because my plan is to publish a future version with many improvements and extra features. If you have any questions about the assembly, wiring or code, leave them in the comments and I will get back to you quickly.
Table of contents
Materials needed to build a robot with Arduino
As I mentioned earlier, the materials needed to build this robot are very simple, so if you have a basic Arduino kit you probably already have most of them. Even so, below you will find links to Amazon and AliExpress for each component used in the project.
In this case I also used a 3D printer. If you do not have one and you are thinking about buying one, here is a link to the printer I am using. It works very well and I am very happy with the results.


As an Amazon Associate, RobotUNO earns from qualifying purchases.
WE DEVELOP YOUR IDEA
Need help with a project?

- Prototyping and MVPs
- Arduino and ESP32
- PCB design
- 3D part design
- Bluetooth connectivity
- Feasibility study
- Cost optimization
- Technical consulting
- Internet of Things
- Patent support
Video of the Arduino robot project
To make assembly easier and help you follow every step, here is a video explaining how to build the robot step by step, together with tips and some mistakes I made along the way.
And while you are here, if you liked it, leave a like and subscribe.
Wiring diagram for the robot with Arduino
One of the most common mistakes in Arduino projects is wiring the cables incorrectly. For that reason, I recommend checking carefully that every connection matches this diagram. I tried to make it as clear as possible, but if any connection is still unclear, feel free to ask in the comments.
It is also very important to keep the position of each servo motor clear while making the wiring. Right, left, up and down are referenced with the robot standing upright and facing you.

3D files for printing the robot
Another important part of this project is printing the robot structure in 3D. Here are the .stl files so you can print it yourself. If you want to adapt the design or improve it, ask me in the comments for the .dwg files to make that work faster.
Arduino code to run the robot
Below you can find the Arduino code required to run this 3D-printed robot.
If you have any questions about how to use or install the development environment used for Arduino, here is a link to how to download the Arduino IDE
In this case you need two pieces of code. The first one simply sets the servo motors to 90 degrees, which is the starting position from which they begin moving.
//Canal YouTube -> RobotUNO
//Pagina web -> robotuno.com
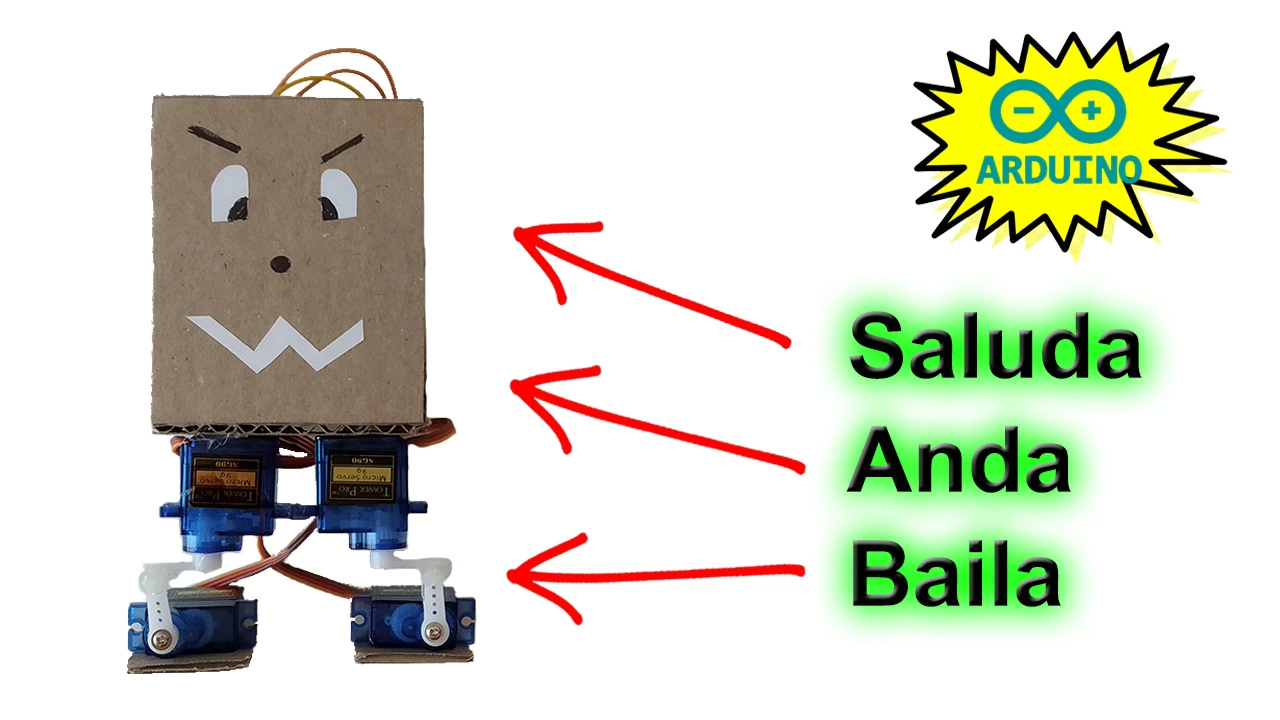
//Proyecto: "ROBOTUNO, EL ROBOT QUE CAMINA, BAILA Y SALUDA"
//Codigo auxiliar para poner los servomotores a 90º
#include <Servo.h>
Servo servo;
void setup() {
servo.attach(3);
}
void loop() {
servo.write(90);
delay(10);
}For now, the code I prepared is intentionally simple so you can check that everything works correctly. I will keep improving and updating it over time. Feel free to comment with any improvements you make.
//Canal YouTube -> RobotUNO
//Pagina web -> robotuno.com
//Proyecto: "ROBOTUNO, EL ROBOT QUE CAMINA, BAILA Y SALUDA"

#include <Servo.h>

Servo der_arriba; //D3 -> Servo1
Servo der_abajo; //D5 -> Servo2
Servo izq_arriba; //D6 -> Servo3
Servo izq_abajo; //D9 -> Servo4

void setup() {
  der_arriba.attach(3);
  der_abajo.attach(5);
  izq_arriba.attach(6);
  izq_abajo.attach(9);

  posicion_inicial();
  delay(1000);
}

void loop() {
  saludar();
  delay(2000);

  caminar();
  delay(2000);

  bailar();
  delay(2000);
}


void posicion_inicial(){
  der_arriba.write(90); delay(100);
  der_abajo.write(90); delay(100);
  izq_arriba.write(90); delay(100);
  izq_abajo.write(90); delay(100);
}

void saludar(){
  int vel=120;

  for (int i=0;i<2;i++){
    der_abajo.write(50); delay(vel);
    izq_abajo.write(130); delay(vel);
    der_abajo.write(90); delay(vel);
    izq_abajo.write(90); delay(vel);

    izq_abajo.write(130); delay(vel);
    der_abajo.write(50); delay(vel);
    izq_abajo.write(90); delay(vel);
    der_abajo.write(90); delay(vel);
  }
}

void caminar(){
  int vel=150;

  for (int i=0;i<30;i++){
    der_abajo.write(45); delay(vel);
    der_arriba.write(135); delay(vel);
    der_abajo.write(90); delay(vel);
    der_arriba.write(90); delay(vel);

    izq_abajo.write(135); delay(vel);
    izq_arriba.write(45); delay(vel);
    izq_abajo.write(90); delay(vel);
    izq_arriba.write(90); delay(vel);

  }
}

void bailar(){
  for (int i=0;i<5;i++){
    der_abajo.write(130); delay(300);
    izq_abajo.write(40); delay(150);
    der_abajo.write(90); delay(300);
    izq_abajo.write(90); delay(150);
    der_arriba.write(130); delay(500);
    izq_arriba.write(50); delay(500);
    der_arriba.write(90); delay(500);
    izq_arriba.write(90); delay(500);
    der_arriba.write(130); delay(500);
    izq_arriba.write(50); delay(500);
    der_arriba.write(90); delay(500);
    izq_arriba.write(90); delay(500);
  }
}
I hope you liked this project. I honestly enjoyed building it a lot, and I loved being able to include parts designed from scratch. Let me know what you think in the comments.