Here comes another game. This time it is an Arduino project that simulates PING-PONG. It is perfect for playing with your friends and seeing who has the fastest reflexes. I challenge you.
Table of contents
Game explanation, objective and how it works
This mini game is very easy to understand. It is designed for two players, although you can also play alone by pressing both buttons yourself.
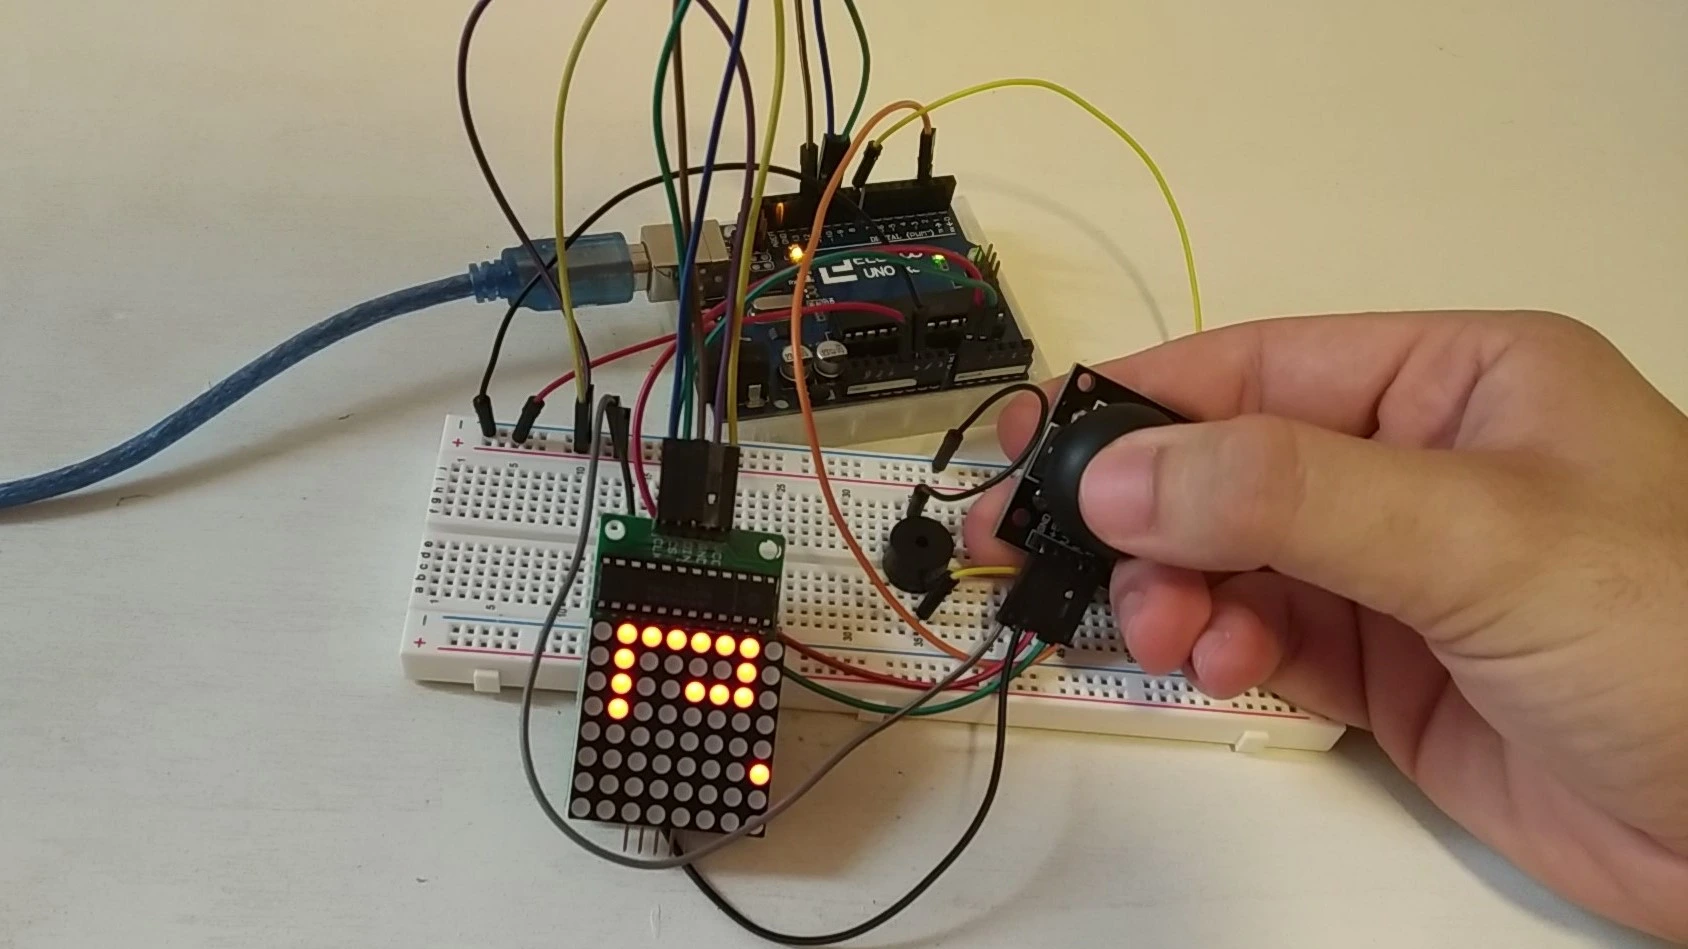
The game consists of a row of LEDs. At each end there is a yellow LED and a red LED. The goal is to press the button when the yellow LED turns on, without letting the red LED turn on. If the red LED lights up, the game is over.
When you press the button while the yellow LED is lit, the ball bounces to the other side, so your opponent has to press the button when their yellow LED lights up to send the ball back.
Materials used in the project
The materials used in this project are very simple and should be easy to find. To make things easier, here is a list of all the components together with purchase links.
If you have any questions about the materials used in this project, feel free to leave a comment and we will reply as soon as possible.


As an Amazon Associate, RobotUNO earns from qualifying purchases.
WE DEVELOP YOUR IDEA
Need help with a project?

- Prototyping and MVPs
- Arduino and ESP32
- PCB design
- 3D part design
- Bluetooth connectivity
- Feasibility study
- Cost optimization
- Technical consulting
- Internet of Things
- Patent support
Step-by-step project video
If you want a more detailed walkthrough of how to build this project from start to finish, including a code explanation, the video below covers everything in a more visual and easier-to-follow way. And if you enjoy this kind of content, do not forget to subscribe.
Arduino wiring diagram for this project
To make the assembly easier, here is the wiring diagram. All the connections shown here match the code placed just below, so make sure your wiring is exactly as shown in the image.

The LED colors are not critical and you can use any colors you want. Still, this color combination is very intuitive, although you can always get creative if you prefer.
Arduino code for the project
Below you can find the Arduino code developed specifically for this project. The pins used in the code are the same ones shown in the wiring diagram above.
If you want a more detailed explanation of the different parts of the code and how the game works, we recommend watching the video above.
Using this code is very simple. You just need to copy it and paste it into your Arduino compiler, for example the Arduino IDE.
If you do not have it installed yet, click here to read our tutorial on how to install it for free. If you have any questions, leave a comment on this page and we will reply as soon as possible.
//Canal YouTube -> RobotUNO
//Proyecto Ping pong
#define rojo1 A2
#define amarillo2 A1
#define verde3 A0
#define verde4 2
#define verde5 3
#define verde6 4
#define verde7 5
#define verde8 6
#define verde9 7
#define verde10 8
#define verde11 9
#define verde12 10
#define verde13 11
#define amarillo14 12
#define rojo15 13
int BOTON_IZQ;
int BOTON_DER;
int aux=7, vel=400;
int direccion_der=1;
int direccion_izq=0;
void setup() {
  pinMode(rojo1,OUTPUT);
  pinMode(amarillo2,OUTPUT);
  pinMode(verde3,OUTPUT);
  pinMode(verde4,OUTPUT);
  pinMode(verde5,OUTPUT);
  pinMode(verde6,OUTPUT);
  pinMode(verde7,OUTPUT);
  pinMode(verde8,OUTPUT);
  pinMode(verde9,OUTPUT);
  pinMode(verde10,OUTPUT);
  pinMode(verde11,OUTPUT);
  pinMode(verde12,OUTPUT);
  pinMode(verde13,OUTPUT);
  pinMode(amarillo14,OUTPUT);
  pinMode(rojo15,OUTPUT);

  pinMode(A5,INPUT);
  pinMode(A4,INPUT);
}
void loop() {
  BOTON_IZQ=digitalRead(A5);
  BOTON_DER=digitalRead(A4);
  if (aux==2 && BOTON_IZQ==1){
    aux++;
    direccion_der=1;
    direccion_izq=0;
    PELOTA();
    vel=vel-50;
  }
  else if (aux==14 && BOTON_DER==1){
    aux--;
    direccion_der=0;
    direccion_izq=1;
    PELOTA();
  }
  else if (direccion_der==1){
    aux++;
    PELOTA();
  }
  else if (direccion_izq==1){
    aux--;
    PELOTA();
  }
  delay(vel);
}
void PELOTA(){
  switch (aux) {
  case 1: //pierdes el juego
    digitalWrite(rojo1,HIGH);
    digitalWrite(amarillo2,LOW);
  break;
  case 2: //amarillo izquierda
    digitalWrite(rojo1,LOW);
    digitalWrite(amarillo2,HIGH);
    digitalWrite(verde3,LOW);
  break;
  case 3:
    digitalWrite(amarillo2,LOW);
    digitalWrite(verde3,HIGH);
    digitalWrite(verde4,LOW);
  break;
  case 4:
    digitalWrite(verde3,LOW);
    digitalWrite(verde4,HIGH);
    digitalWrite(verde5,LOW);
  break;
  case 5:
    digitalWrite(verde4,LOW);
    digitalWrite(verde5,HIGH);
    digitalWrite(verde6,LOW);
  break;
  case 6:
    digitalWrite(verde5,LOW);
    digitalWrite(verde6,HIGH);
    digitalWrite(verde7,LOW);
  break;
  case 7:
    digitalWrite(verde6,LOW);
    digitalWrite(verde7,HIGH);
    digitalWrite(verde8,LOW);
  break;
  case 8:
    digitalWrite(verde7,LOW);
    digitalWrite(verde8,HIGH);
    digitalWrite(verde9,LOW);
  break;
  case 9:
    digitalWrite(verde8,LOW);
    digitalWrite(verde9,HIGH);
    digitalWrite(verde10,LOW);
  break;
  case 10:
    digitalWrite(verde9,LOW);
    digitalWrite(verde10,HIGH);
    digitalWrite(verde11,LOW);
  break;
  case 11:
    digitalWrite(verde10,LOW);
    digitalWrite(verde11,HIGH);
    digitalWrite(verde12,LOW);
  break;
  case 12:
    digitalWrite(verde11,LOW);
    digitalWrite(verde12,HIGH);
    digitalWrite(verde13,LOW);
  break;
  case 13:
    digitalWrite(verde12,LOW);
    digitalWrite(verde13,HIGH);
    digitalWrite(amarillo14,LOW);
  break;
  case 14: //amarillo derecha
    digitalWrite(verde13,LOW);
    digitalWrite(amarillo14,HIGH);
    digitalWrite(rojo15,LOW);
  break;
  case 15: //pierdes el juego
    digitalWrite(rojo15,HIGH);
    digitalWrite(amarillo14,LOW);
  break;

  default:
    digitalWrite(rojo15,HIGH);
    digitalWrite(rojo1,HIGH);
  break;
}
}