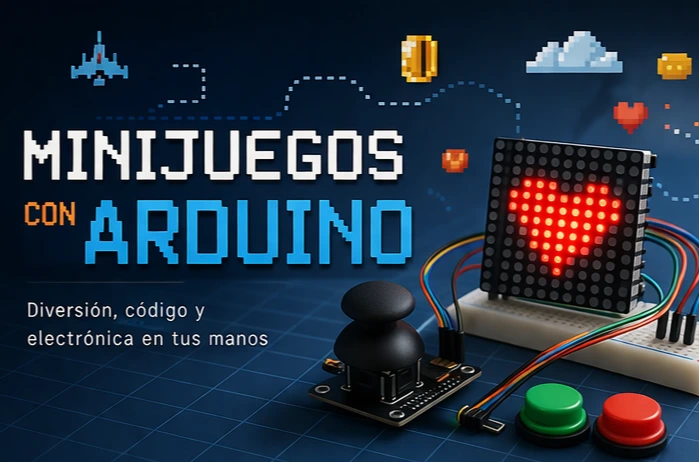
Simon says, Simon says... did you know this game already? Have you played it before? Fine, I will stop now, but that is just a small demonstration of how this famous mini game works. In this post we will show you how to build this classic game with an Arduino controller.
If you want to learn how to build this project in a simple and quick way, stay on this page. Shall we get started?
Table of contents
Explanation and gameplay of the Simon Says game
It is hard to believe anyone does not know how this mini game works, but just in case, here is a quick explanation of how to play Simon Says with an Arduino board.
The game basically consists of memorizing the LED sequence generated at random.
Once the sequence ends, it is your turn. You have to reproduce the same sequence by pressing the buttons in the correct order. So far, everything sounds easy enough, right?
Well, the difficult part starts now. Every time you get a sequence right, the next one is not only faster, but also longer. How many sequences will you be able to complete? Will you beat your friends?
Build the project with Arduino and put yourself to the test. Let's go.
Materials and components used in the project
If you only need some of the components for this project, below you will find a list so you do not have to waste time searching and comparing offers.
If you have any questions about the materials used in this project, feel free to leave a comment and we will reply as soon as possible.


As an Amazon Associate, RobotUNO earns from qualifying purchases.
Step-by-step project video
If you want a more detailed walkthrough of how to build this project from start to finish, including a code explanation, the video below covers everything in a more visual and easier-to-follow way. And if you enjoy this kind of content, do not forget to subscribe.
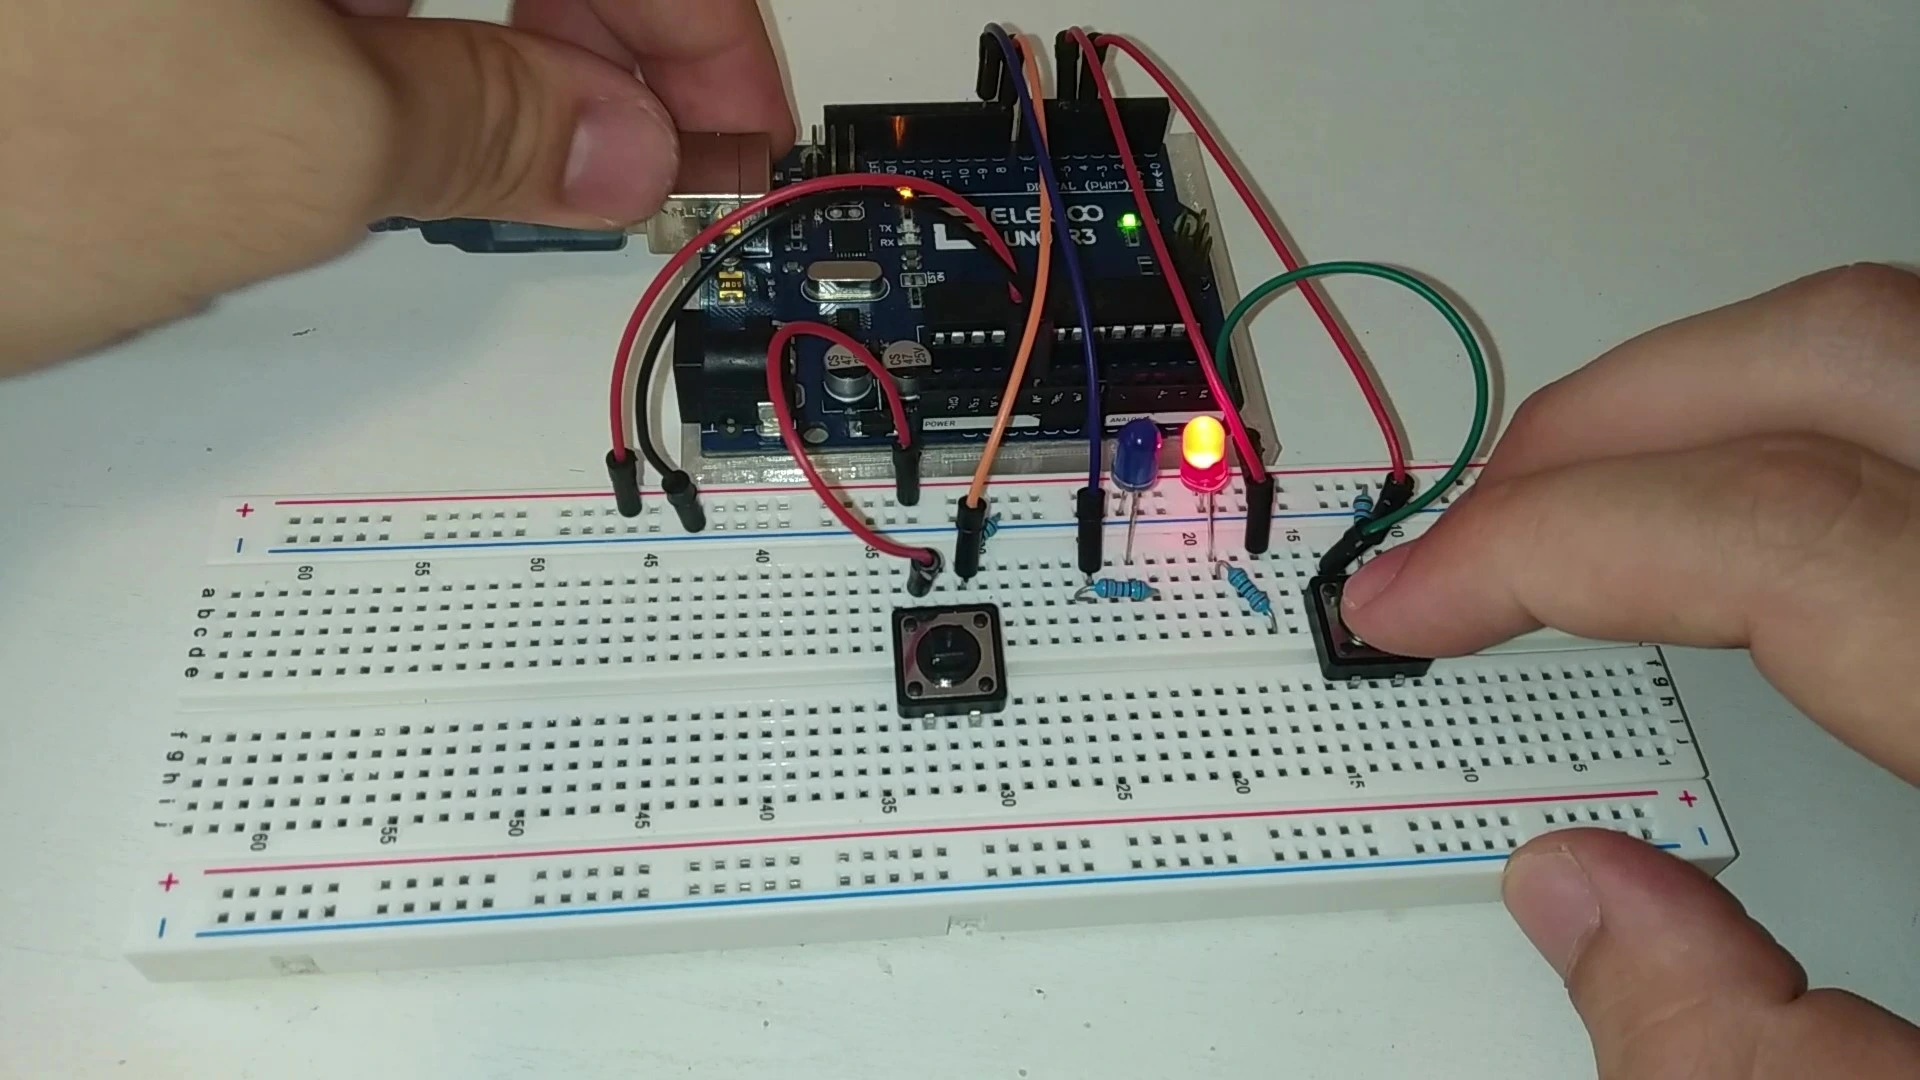
Arduino wiring diagram for the Simon Says mini game
We want to make this project easy and accessible, regardless of your Arduino level. That is why here is the wiring diagram for the Simon Says game.
All the connections in this diagram match the code shown just below, so make sure your wiring is exactly as shown in the image.

WE DEVELOP YOUR IDEA
Need help with a project?

- Prototyping and MVPs
- Arduino and ESP32
- PCB design
- 3D part design
- Bluetooth connectivity
- Feasibility study
- Cost optimization
- Technical consulting
- Internet of Things
- Patent support
Arduino code for the project
Below you can find the Arduino code developed specifically for this Simon Says mini game. The pins used in the code match the ones shown in the wiring diagram above. If you want a more detailed explanation of the different parts of the code and how the game works, we recommend watching the video above.
If you need help using or installing the Arduino development environment, here is our guide on how to download the Arduino IDE.
//Canal de YouTube -> RobotUNO
//Juego Simon dice
#define   BUZZER   7
#define   ENTRADA_A  13
#define   ENTRADA_B  12
#define   ENTRADA_C  11
#define   ENTRADA_D  10
#define   SALIDA_A   2
#define   SALIDA_B   3
#define   SALIDA_C   4
#define   SALIDA_D   5
int melodia[ ] = {262, 196, 196, 220, 196, 0, 247, 262};
int duracionNotas[] = {4, 8, 8, 4, 4, 4, 4, 4};
int nivelActual = 1;
int velocidad = 500;
const int NIVEL_MAX = 100;
int secuencia[NIVEL_MAX];
int secuenciaUsuario[NIVEL_MAX];

void setup(){
   pinMode(ENTRADA_D, INPUT);
   pinMode(ENTRADA_C, INPUT);
   pinMode(ENTRADA_B, INPUT);
   pinMode(ENTRADA_A, INPUT);
   pinMode(SALIDA_A, OUTPUT);
   pinMode(SALIDA_B, OUTPUT);
   pinMode(SALIDA_C, OUTPUT);
   pinMode(SALIDA_D, OUTPUT);
   digitalWrite(SALIDA_A, LOW);
   digitalWrite(SALIDA_B, LOW);
   digitalWrite(SALIDA_C, LOW);
   digitalWrite(SALIDA_D, LOW);
}

void loop(){
   if(nivelActual == 1){
      generaSecuencia();
      muestraSecuencia();
      leeSecuencia();
   }
   if(nivelActual != 1){
      muestraSecuencia();
      leeSecuencia();
   }
}

void muestraSecuencia(){
   digitalWrite(SALIDA_A, LOW);
   digitalWrite(SALIDA_B, LOW);
   digitalWrite(SALIDA_C, LOW);
   digitalWrite(SALIDA_D, LOW);
   for(int i = 0; i < nivelActual; i++){
      if( secuencia[i] == SALIDA_A ){
         tone(BUZZER, 200);
         delay(200);
         noTone(BUZZER);
      }
      if( secuencia[i] == SALIDA_B ){
         tone(BUZZER, 300);
         delay(200);
         noTone(BUZZER);
      }
      if( secuencia[i] == SALIDA_C ){
         tone(BUZZER, 400);
         delay(200);
         noTone(BUZZER);
      }
      if( secuencia[i] == SALIDA_D ){
         tone(BUZZER, 500);
         delay(200);
         noTone(BUZZER);
      }
      digitalWrite(secuencia[i], HIGH);
      delay(velocidad);
      digitalWrite(secuencia[i], LOW);
      delay(200);
   }
}

void leeSecuencia(){
   int flag = 0;
   for(int i = 0; i < nivelActual; i++){
      flag = 0;
      while(flag == 0){
         if(digitalRead(ENTRADA_D) == LOW){
            digitalWrite(SALIDA_D, HIGH);
            tone(BUZZER, 500);
            delay(300);
            noTone(BUZZER);
            secuenciaUsuario[i] = SALIDA_D;
            flag = 1;
            delay(200);
            if(secuenciaUsuario[i] != secuencia[i]){
               secuenciaError();
               return;
            }
            digitalWrite(SALIDA_D, LOW);
         }
         if(digitalRead(ENTRADA_C) == LOW){
            digitalWrite(SALIDA_C, HIGH);
            tone(BUZZER, 400);
            delay(300);
            noTone(BUZZER);
            secuenciaUsuario[i] = SALIDA_C;
            flag = 1;
            delay(200);
            if(secuenciaUsuario[i] != secuencia[i]){
               secuenciaError();
               return;
            }
            digitalWrite(SALIDA_C, LOW);
         }
         if(digitalRead(ENTRADA_B) == LOW){
            digitalWrite(SALIDA_B, HIGH);
            tone(BUZZER, 300);
            delay(300);
            noTone(BUZZER);
            secuenciaUsuario[i] = SALIDA_B;
            flag = 1;
            delay(200);
            if(secuenciaUsuario[i] != secuencia[i]){
               secuenciaError();
               return;
            }
            digitalWrite(SALIDA_B, LOW);
         }
         if(digitalRead(ENTRADA_A) == LOW){
            digitalWrite(SALIDA_A, HIGH);
            tone(BUZZER, 200);
            delay(300);
            noTone(BUZZER);
            secuenciaUsuario[i] = SALIDA_A;
            flag = 1;
            delay(200);
            if(secuenciaUsuario[i] != secuencia[i]){
               secuenciaError();
               return;
            }
            digitalWrite(SALIDA_A, LOW);
         }
      }
   }
   secuenciaCorrecta();
}

void generaSecuencia(){
   randomSeed(millis());
   for(int i = 0; i < NIVEL_MAX; i++){
      secuencia[i] = random(2,6);
   }
}

void melodiaError(){
   for(int i = 0; i < 8; i++){
      int duracionNota = 1000/duracionNotas[i];
      tone(BUZZER, melodia[i], duracionNota); // Corrección aquí
      int pausaEntreNotas = duracionNota * 1.30;
      delay(pausaEntreNotas);
      noTone(BUZZER);
   }
}

void secuenciaError(){
   digitalWrite(SALIDA_A, HIGH);
   digitalWrite(SALIDA_B, HIGH);
   digitalWrite(SALIDA_C, HIGH);
   digitalWrite(SALIDA_D, HIGH);
   delay(250);
   digitalWrite(SALIDA_A, LOW);
   digitalWrite(SALIDA_B, LOW);
   digitalWrite(SALIDA_C, LOW);
   digitalWrite(SALIDA_D, LOW);
   delay(250);
   melodiaError();
   nivelActual = 1;
   velocidad = 500;
}

void secuenciaCorrecta(){
   if(nivelActual < NIVEL_MAX)
      nivelActual++;
   velocidad -= 50;
   delay(200);
}
Using this code is very simple. You just need to copy it and paste it into your Arduino compiler, for example the Arduino IDE. If you do not have it installed yet, you can read our tutorial on how to install it for free. If you have any questions, leave a comment on this page and we will reply as soon as possible.