In this guide we explain how to make a homemade metal detector with NE555 in a clear step-by-step way. If you came here looking for a homemade metal detector, how to build a metal detector or a simple way to assemble a basic homemade gold detector, here you will find a practical explanation covering materials, operation and assembly.
Table of contents
How this homemade metal detector works
This project uses the NE555 timer to generate a signal whose frequency changes depending on the coil and the presence of metal near the electromagnetic field. When a metallic object alters that behaviour, the circuit responds and lets you detect that variation in a simple way. It is a useful homemade build for learning electronics, understanding basic oscillators and experimenting with metal proximity detection.
- The NE555 acts as the base of the oscillator
- The coil helps detect changes caused by nearby metal
- The circuit response changes when metallic objects are brought close
- It is an educational beginner project, not a professional detector
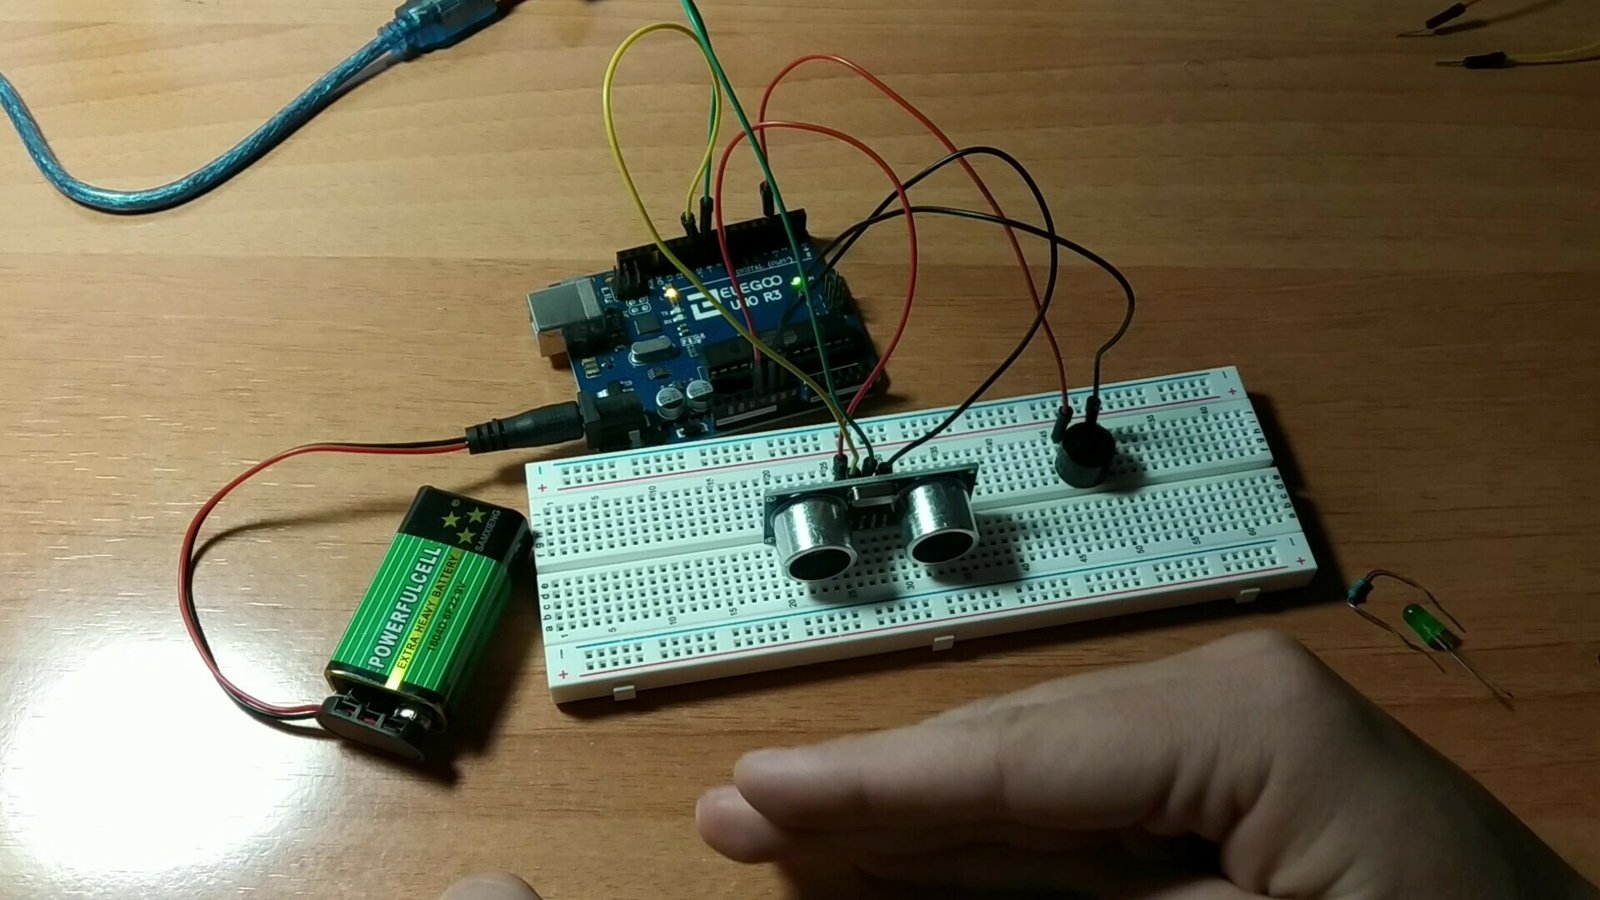
Materials for a homemade metal detector
- 1 NE555 timer
- Resistors and capacitors according to the wiring diagram
- Coil or inductor for detection
- Buzzer, speaker or alert output depending on the build
- Breadboard or board for assembly
- Power supply or battery
- Connection wires
The exact values can vary depending on the circuit version, but the general logic of a homemade NE555 metal detector is based on an oscillator, a coil and an output that lets you notice the change when metal gets close.
Characteristics of the coil used
These are the characteristics of the coil used in the project. I tested different types of coils, but this one gave me the best results:
- Number of turns: 120
- Diameter: 5 cm
- Copper wire diameter: 0.25 mm
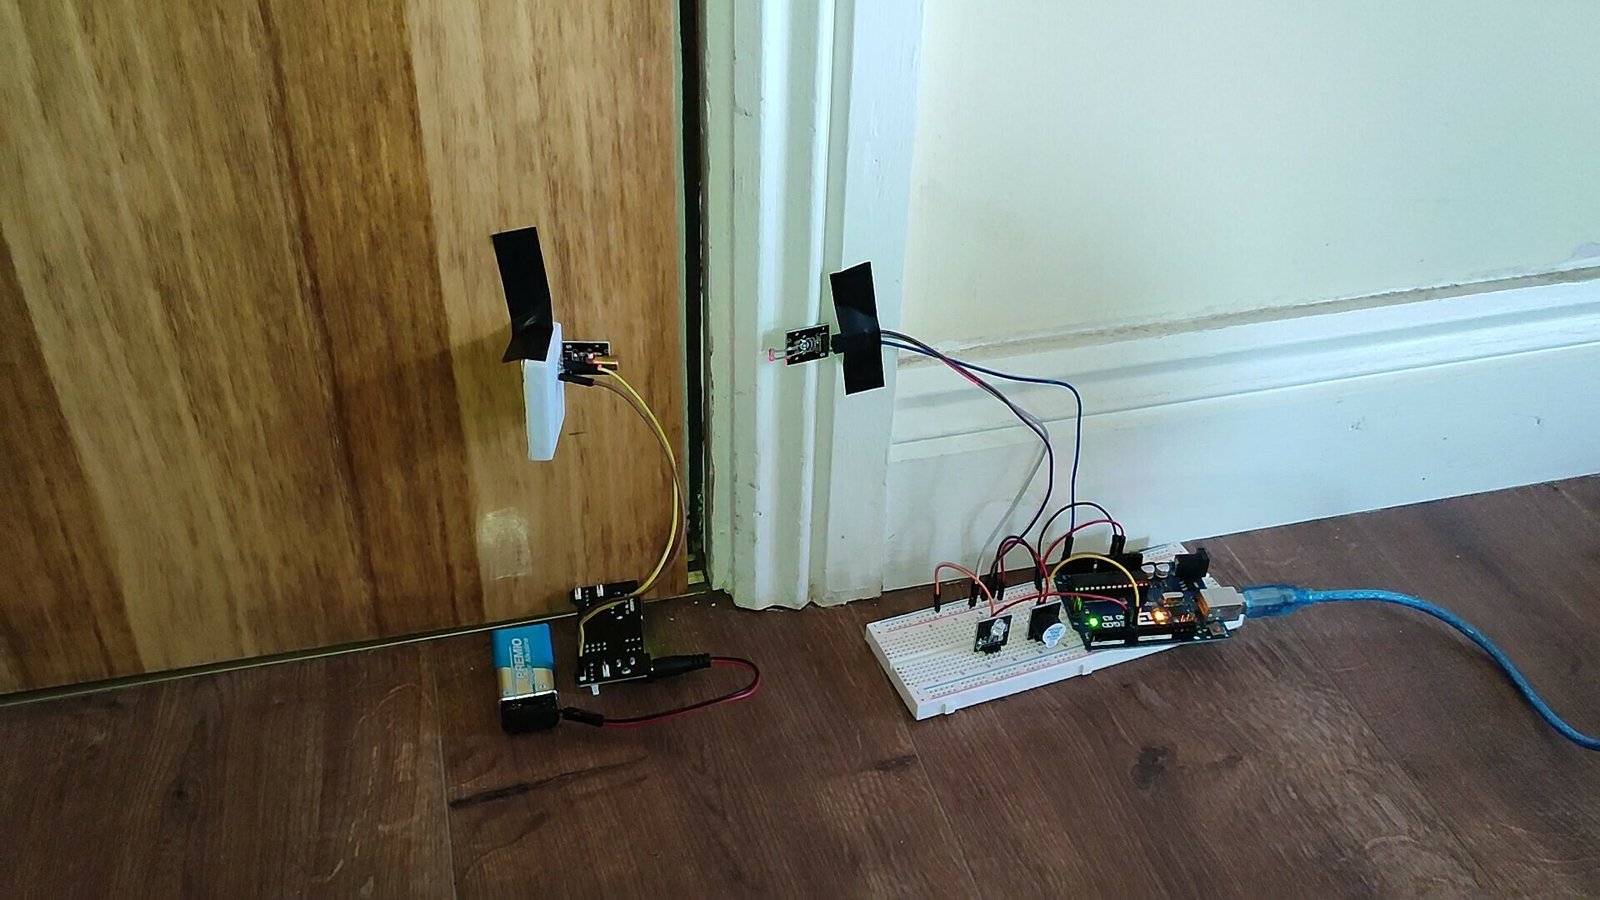
Basic steps to assemble the detector
- First build the base circuit with the NE555
- Connect the coil to the detection part of the circuit
- Check power, polarity and continuity
- Verify that the oscillator responds in a stable way
- Bring different metals close and observe the change in response
- Adjust components or the coil if you want to improve sensitivity
If your goal is to learn how to make a homemade metal detector, this step-by-step approach is enough to build a basic version, test it and understand its real limits.
WE DEVELOP YOUR IDEA
Need help with a project?

- Prototyping and MVPs
- Arduino and ESP32
- PCB design
- 3D part design
- Bluetooth connectivity
- Feasibility study
- Cost optimization
- Technical consulting
- Internet of Things
- Patent support
Step-by-step project video
Here is a video where I build the project myself so you can see how it works and how well it detects metal.
As you can hear, the sound changes clearly when a piece of metal approaches the detector coil. For a noticeable change in the electromagnetic field, the metal has to come quite close to the coil. I would say the effective range of this detector is around 1 to 3 cm.
For the assembly, I used a prototyping board. It was very useful because it lets you place all the components on the top side and make the solder joints underneath. To install the power connector, I had to widen two holes in the board because the pins of that component were larger and did not fit.
Real limitations of a homemade metal detector
A homemade metal detector like this is useful for learning and experimenting, but it should not be compared with advanced commercial detectors. Sensitivity, stability and detection depth will be limited and will depend heavily on the coil, the circuit tuning and the type of metal. If you need professional results, this build does not replace equipment designed specifically for that purpose.
Wiring diagram
To avoid possible mistakes, here is the wiring diagram for this project.

The speaker I used is rated at 3 watts and has an internal impedance of 8 ohms. It has worked well for me during long periods of use. A 4-ohm speaker could probably also be used, but it might heat up after running for a while because it draws more current.
Frequently asked questions about homemade metal detectors
How do you make a homemade metal detector in a simple way?
A simple way is to use a circuit based on NE555, a coil and an alert output. This project lets you assemble a basic version and understand how the circuit responds when metal gets close.
Can this detector be used to find gold?
It can react to different metals, but it is not intended as a professional detector or as a specific solution for locating gold with real field accuracy.
What does the coil do in the metal detector?
The coil is part of the detection system because its behaviour changes when metal is nearby, altering the circuit response.
Is this a useful project for learning electronics?
Yes. It is a very useful project for understanding NE555, basic oscillators, the role of the coil and basic metal detection.
Other projects and related resources
If you want to move from a homemade assembly to a real electronic product, RobotUNO can help you with electronic product development (PCBs, firmware and prototyping) and industrialization.